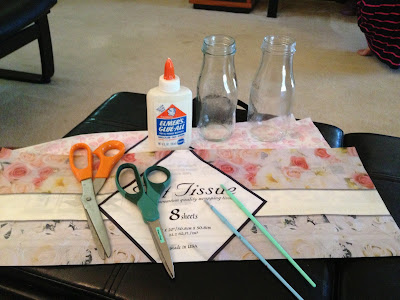
What we needed were as follows...
- Empty glass bottle (preferably clear so that the design on the bottle doesn't show through the tissue paper)
- Tissue paper(s) (any kind that you find visually appealing, but preferably one that isn't textured - it might be more difficult to glue down to the bottle); you can use more than one type/pattern/color of tissue paper and create your own quilt-like design on the bottle or you can stick to one
- Scissors
- White Elmer's glue
- Small paint brush
Directions
- Wash any dust or residue off of the bottle (make sure the bottle is completely dry before applying the tissue paper)
- Cut the tissue paper(s) you selected into squares or rectangles
- Pour some Elmer's glue into a small cup or container
- Place the tissue paper on the bottle (one piece at a time)
- Dip the paint brush in the glue
- Gently paint directly over the tissue paper that is placed on the bottle in one fluid motion
- Notes:
- In order to avoid getting wrinkles in the tissue paper, begin brushing from the center of the tissue paper out towards the edges
- Also, be sure to keep your brush strokes all going in one direction (either side to side or up and down)
- Don't worry, the glue dries clear (:
- Repeat this process until the entire bottle is covered in tissue paper
- Allow the bottle to dry (it only took a few hours for bottle to dry)
- Enjoy your new, personalized vase!
^ If you so desire, you can add a bow or ribbon to the neck or body of the vase (I used twine to give it a more rustic feel)
You can use this same technique to decorate a plain candle. Click here to see how!
- M.


No comments:
Post a Comment